The use of shellac is becoming more and more popular among nail lovers. The durability and high aesthetics of such a coating allows you not to update the manicure for up to 2-3 weeks. In this article, we will look at how to perform manicure and nail design using shellac, and also present video tutorials on the topic. They will help you to better master this, however, quite simple technique.
Design materials
Shellac coating does not imply the application of just one tone. In fact, shellac manicure can be almost as complex and varied as that made with ordinary varnish. Let's talk about how and with what to draw drawings on shellac, such as those shown in the video. Most often, two types of material are used for applying a pattern.
- Shellac directly. It has a fairly thick and viscous texture. Therefore, not all drawings can be done independently. However, for example, stamping is as easy to make as it is with regular varnish. In addition, this consistency helps to create interesting abstractions using a needle;
- Acrylic paints. After the shellac nail coating is completely dry, as video tutorials show, you can start painting with acrylic. It is performed in the same way as on any other varnish. Coating it with a shellac fixer will allow the manicure to last a long time.
When making drawings with shellac, it is worth remembering that each new element must be polymerized under a lamp before applying the next one that overlaps it. On the contrary, when working acrylic paints, by mixing colors and shades on the plate and adding water, you can achieve an interesting "watercolor" effect. Our instructional video will tell you how to draw drawings with shellac on nails.
Drawing tools
Before bringing to your attention the master class on presented in the video, we will discuss what tools are needed to complete the drawing. Their set depends on what kind of design you want to perform. Depending on this, you may need the following tools:
- Dots;
- Needle;
- Toothpick;
- Fine brush;
- Stamping kit (only required for shellac painting).
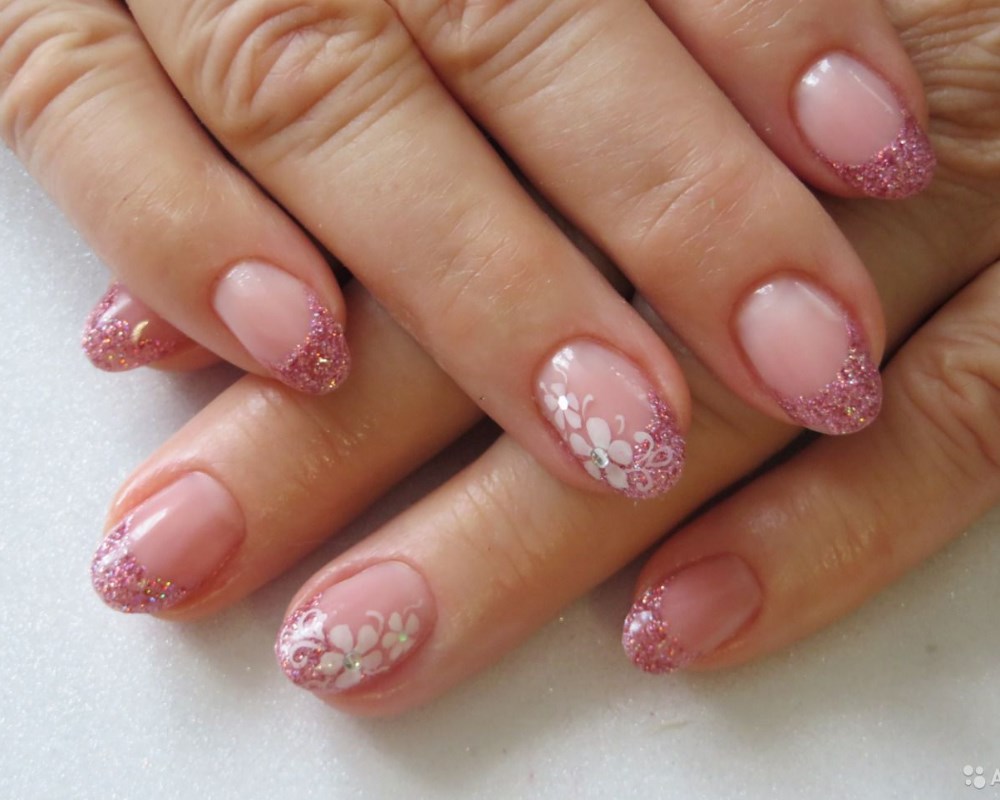
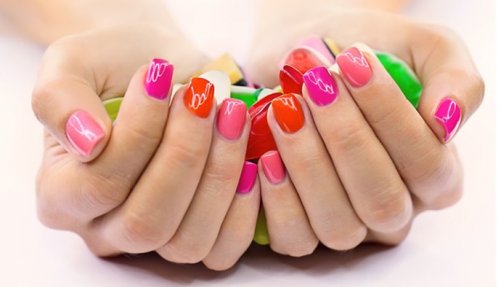
With the help of dots, you can create pretty using shellac, for example, such as in the photo. By varying the diameters of the resulting dots, you can create hearts, stylized flowers, clouds and other patterns. You may also need a tool when working with acrylic to create small elements, such as flower cores.
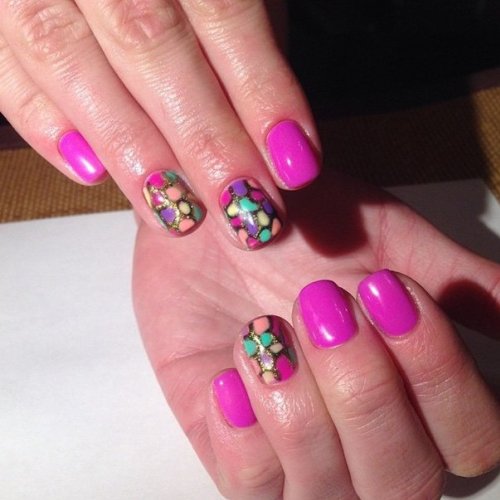
Using a simple needle or a toothpick, shellac coating can be greatly complicated, as the video tutorial will tell you. By mixing shades, interesting abstract patterns are obtained. Using the same method, you can create a pattern of a feather, a cloud, smoke, an imitation of natural stones, turquoise or marble.
A thin brush is the most indispensable tool when doing acrylic painting on shellac, as the video tutorial shows. You can and should work with brushes and acrylics in the same way as simple watercolor or gouache paints for drawing. Shades mix well and are diluted with water. With enough training, this method can create real works of art.
Execution Technology
If you have all the necessary materials and tools at hand, then you can start performing a manicure. The master class presented in the video will tell you how to make nail design and shellac drawing. The main steps look like this:
- Prepare your nails for a manicure. Push back the cuticle, trim the free edge and carefully polish the plate. The smoother it becomes, the better and more durable the manicure will be;
- Degrease your nails;
- Apply primer. Thanks to him, the scales of the plate will open slightly and the adhesion of the coating and the nail will be stronger;
- Further, as the video tutorials show, teaching how to perform shellac design, apply a transparent base. It protects the plate from getting the coloring pigment on it. Dry the base under a UV lamp for the time indicated in the instructions;
- Apply colored shellac. Dry under a UV lamp. Apply another layer if necessary. Polymerize it too;
- Now do the drawing. If you use shellac, as in the video, then the design must be carefully thought out in advance and the stages of drawing the drawing should be determined. Since before each new layer you will need to polymerize the previous one. When working with acrylic, such scrupulousness may not be required, as it dries quickly and is easily removed from the coating;
- As the video tutorial shows, after the shellac or acrylic dries, you need to apply a protective (top) coating. It will give the manicure shine and durability.
Before you start painting with shellac, take some time to learn with our videos. After that, you can easily complete a simple design yourself. In the future, you can improve your technique and complicate patterns and drawings.
The content of the article:
Gel polish, or shellac, is a mixture of regular polish with a special gel that gives a much stronger finish than most traditional colored polishes. Its name comes from the very first line of gel polishes produced by the American company CND (Shcellac). It is completely safe, because it does not contain formaldehyde and other toxic substances, so even pregnant and breastfeeding women and the youngest fashionistas can safely do a manicure with this varnish.
The main beauty of shellac nail coating is that it allows you to strengthen and give visible volume to flat and thin nails, even without the use of sparkles and additional visual techniques. In addition, to create a manicure using gel polish, you do not need to injure your nails by preliminary filing or removing the top smooth layer. With such a manicure, your nails will look neat, well-groomed and healthy for a very long time.
Important: gel polish does not dry in the air, so you need to purchase a special UV lamp to dry it. This feature of it can be an important plus in those nail design options where the most delicate and painstaking work is required with the application of several, often multi-colored, layers or the drawing of complex patterns.
In order to get started with gel polish, you will need:
- nail degreaser;
- colorless coating (base);
- color coating;
- colorless top coat (finish);
- special UV lamp;
- cuticle oil;
- cotton pads.
If you want to create masterpieces of nail art at home, experimenting with different techniques, then it is best to immediately buy a special kit, which will already have everything you need. And before you varnish your nails, do a regular edging European manicure and soften the cuticles with oil.
In order to create such beauty on your own nails at home, they must first be polished. and then apply a degreaser to each nail. This is done so that the varnish lies well on the nails and lasts a long time. Wipe each nail with a cotton pad, and you can proceed directly to the manicure.
- Cover nails with base coat and dry for 2 minutes in a UV lamp.
- Then came the turn of colored varnish. It is best applied in 2-3 layers, each of them is dried in a lamp for 2 minutes after application.
- If desired, glitter, rhinestones, foil, velvet sand or “liquid stones” can be applied to the dried top layer, or nails can be covered with elegant patterns.
- The last layer is the top coat, or finish. We cover them with nails and again in the lamp for 2 minutes.
After that, you just have to remove the sticky top layer with a paper towel and alcohol, the manicure is ready! And to make it look even better don't forget to "pamper" your nails with a moisturizing cuticle oil or any other strengthening agent. For example, it could be dnc biowax firming nails and nourishing damaged cuticles.
If the manicure is tired, remove the gel polish with a special Remover, almost entirely consisting of acetone or isopropylene alcohol. To do this, apply the product on a cotton pad previously cut into triangles. After that, apply a cotton triangle to the nail for 10 - 15 minutes, wrapping the nail with foil. Soaked varnish is easy to remove, and after that it is best to generously lubricate the nails and cuticles with any cosmetic oil. If after that the nails are very exfoliating, you can strengthen them with the help of nightly masks with essential oils.
Important: Please note that regular nail polish remover is definitely not suitable here.
Types of beautiful design of short nails with shellac
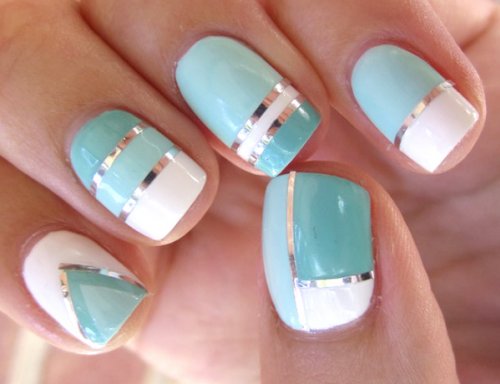
On short nails various volumetric drawings with modeling or glitters (sparkles) look great. For beginners, a very simple and effective option with foil strips is perfect.. Apply the first layer of white varnish, and lay long strips of foil at a short distance on top, extending over the edge with the tips nail plate. Dry the first layer and apply the second in a contrasting color - blue or red. Then carefully remove the foil and dry. Spectacular "marine" strips are ready!
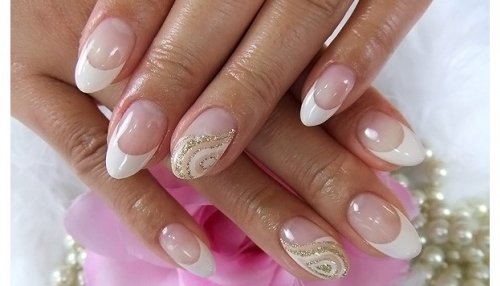
Ideas for a simple shellac manicure for long nails
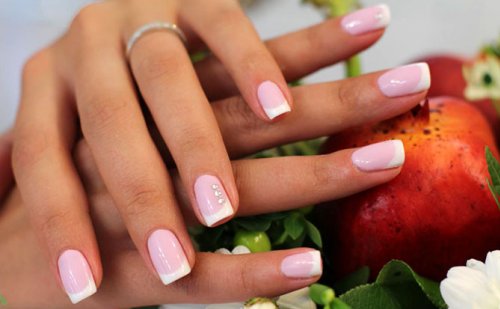
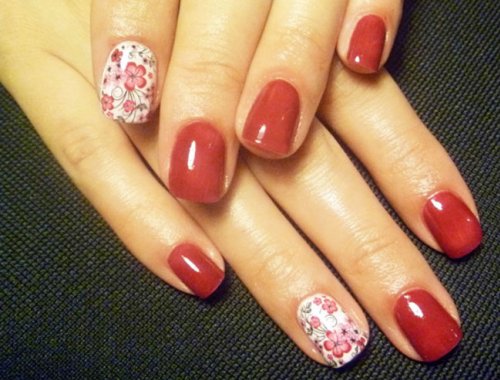
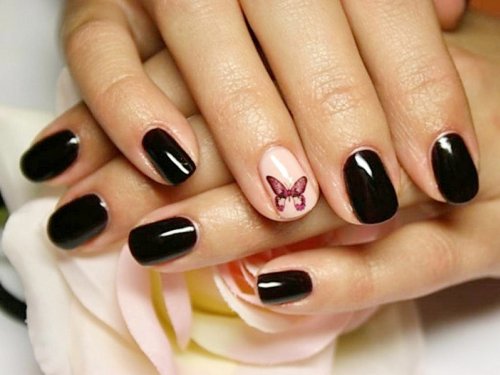
Shellac attracts attention in itself, so with its help the simplest manicure options will look very bright and unbanal. This is not only an incredibly popular nude manicure this season, but also a classic French manicure or bright plain manicure with elements of painting or a scattering of sparkles. The combined design with ordinary varnish painting on top of the top coat looks impressive.. You can remove and correct such a pattern with the help of nail polish remover, but be careful - otherwise you risk damaging the top coat.
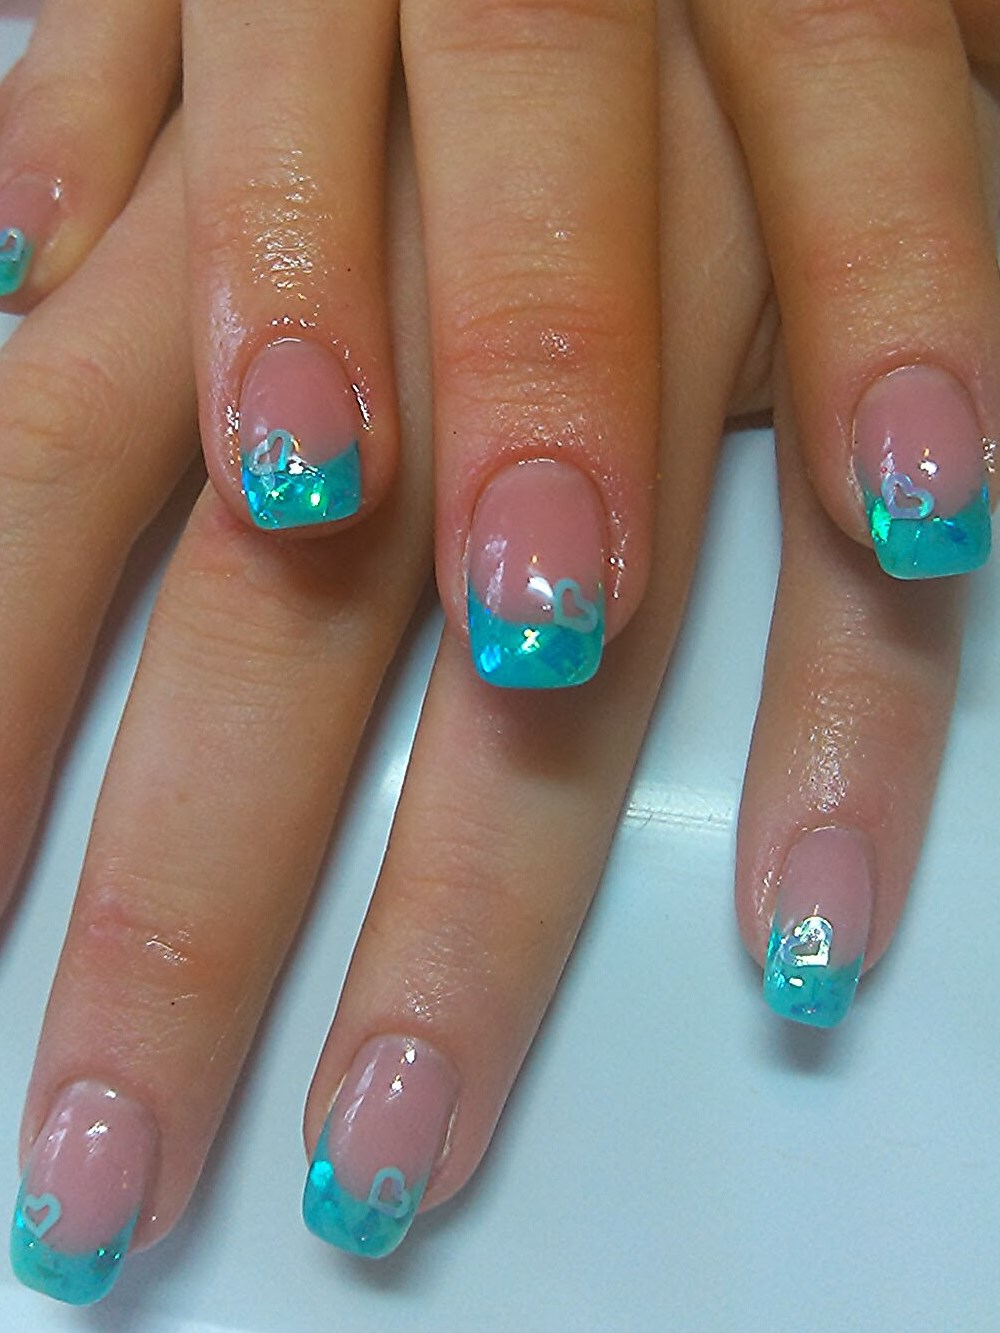
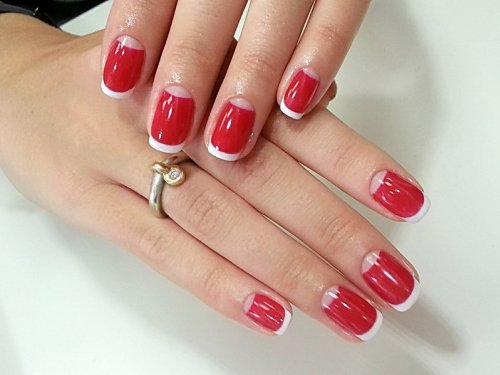
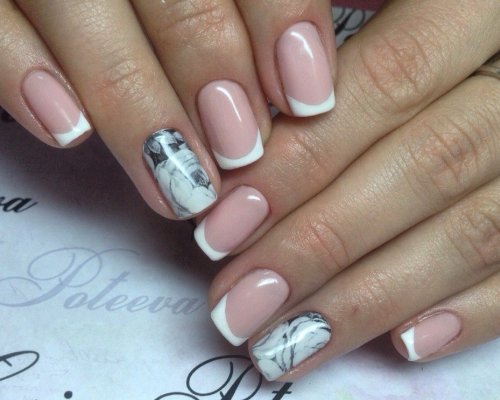
french
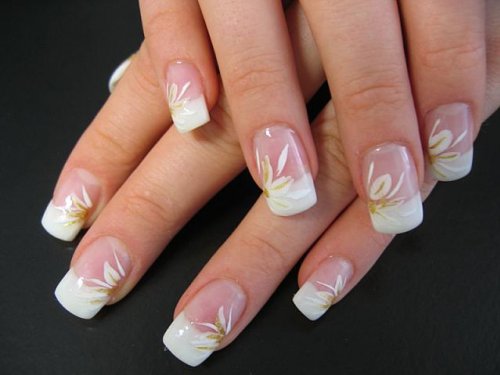
A classic or colored French manicure is done in exactly the same way as a regular colored varnish, with each layer (flesh, “smile”, painting) being dried in a lamp separately. Based on it, you can get a beautiful design without complicated painting by placing lace, foil strips or a special stencil sticker under the top coat. The result is a very interesting voluminous manicure, accessible even to a beginner.
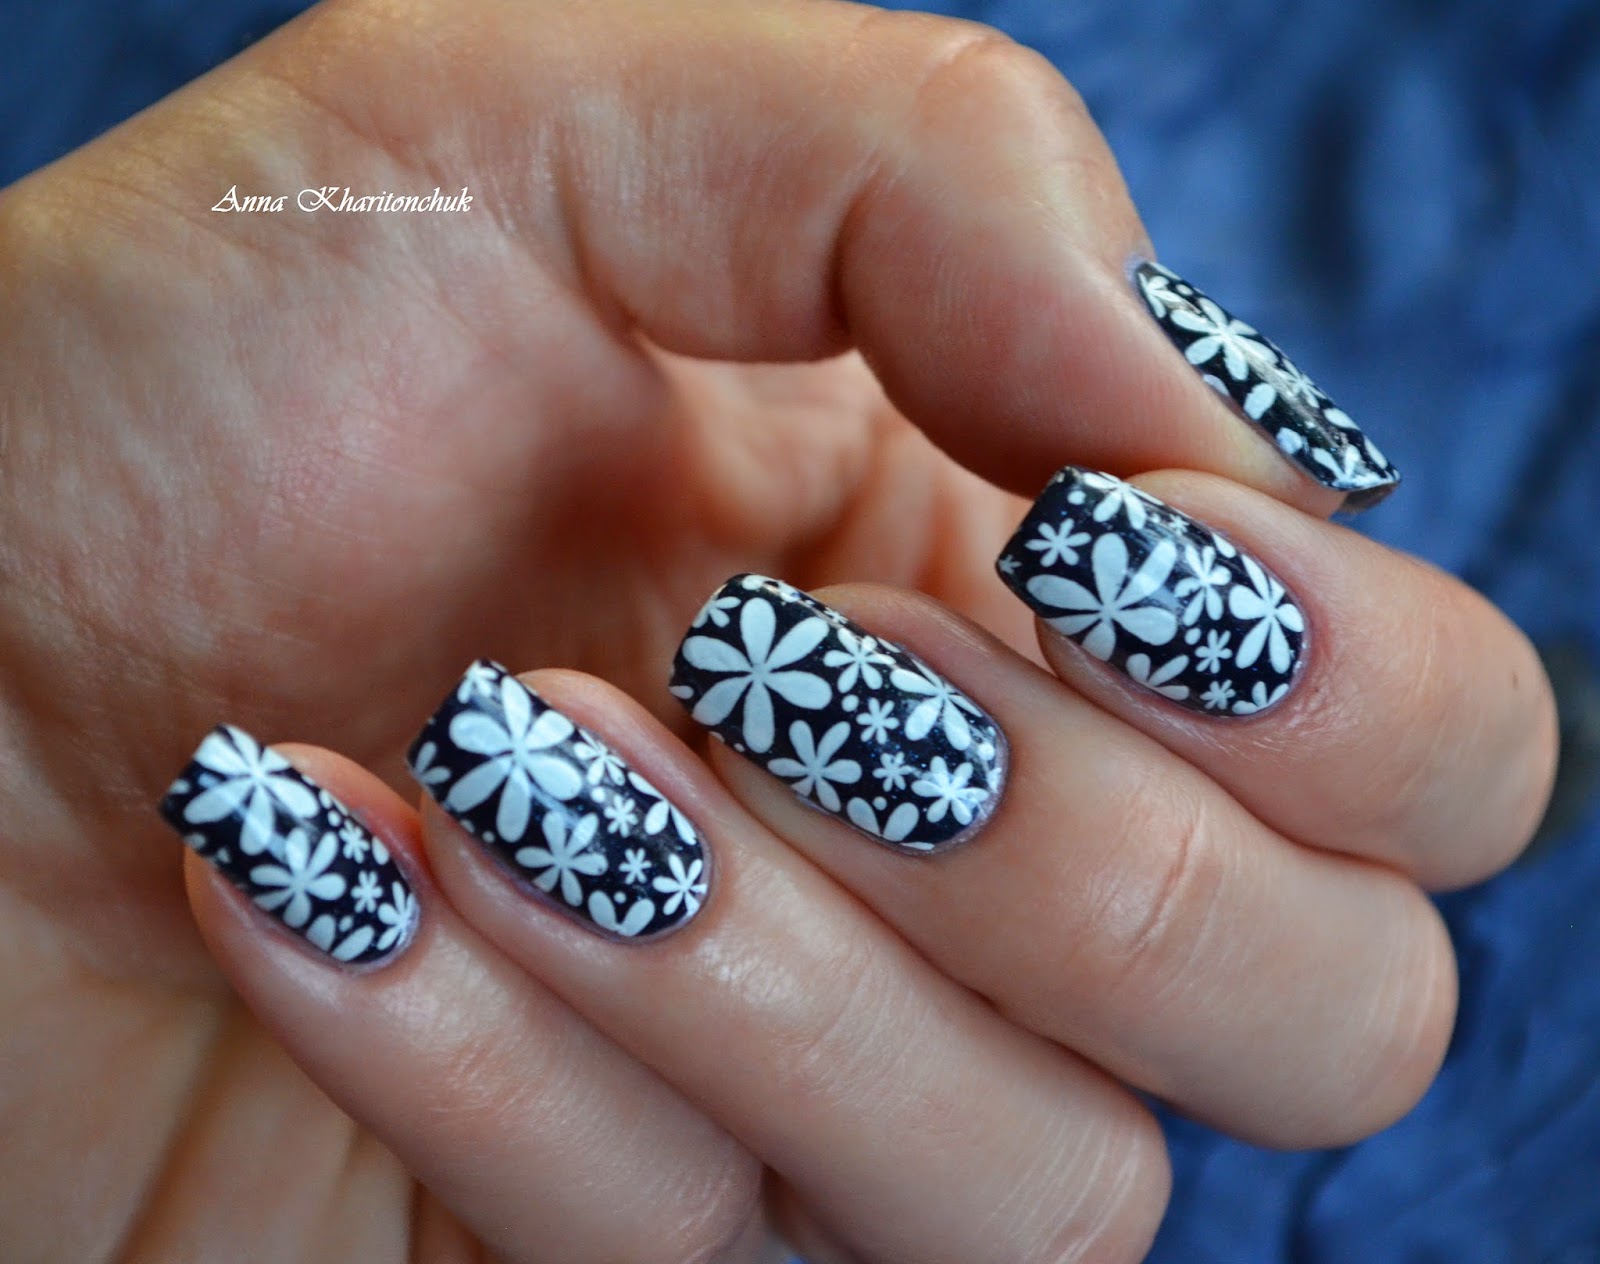
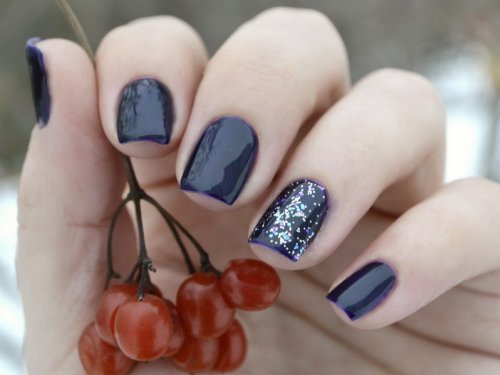
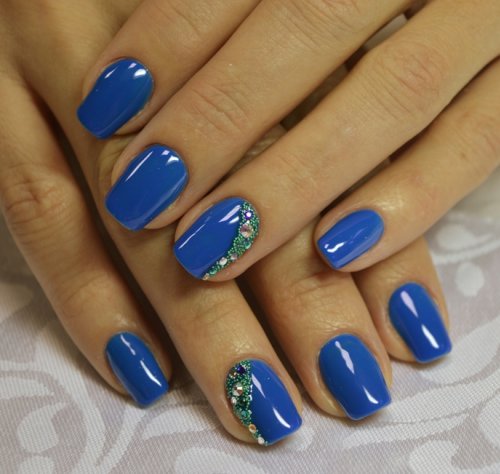
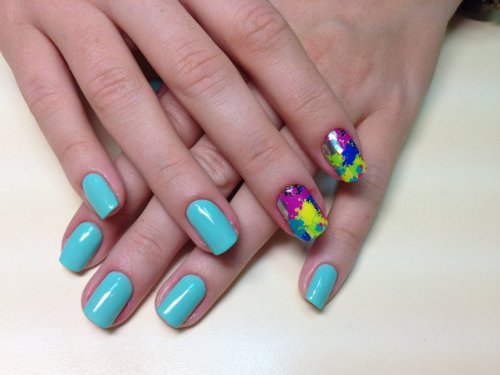
Blue manicure
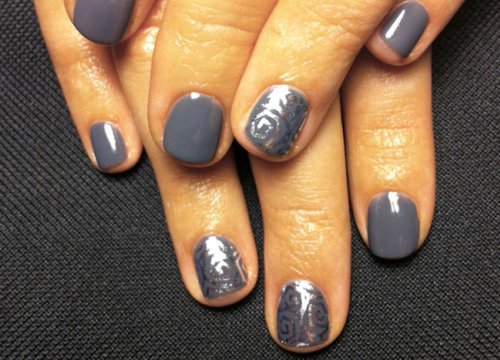
The blue color is not only a bright marine manicure, but also an exquisite basis for nail art with glitters, volumetric patterns with velvet sand or with rhinestones. Another simple and effective option is stamping, in which patterns are applied using a special stamp and a contrasting gel polish. Then cover the resulting pattern with a top coat and dry in a lamp.
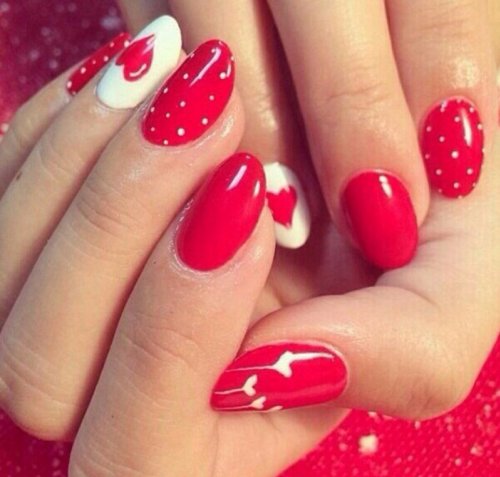
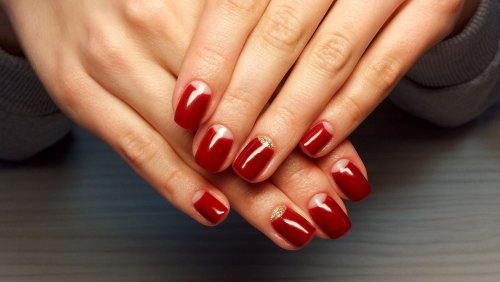
Red manicure
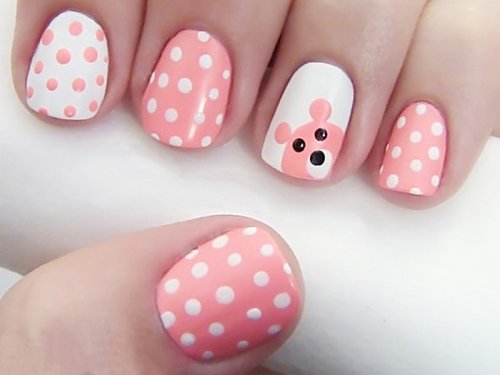
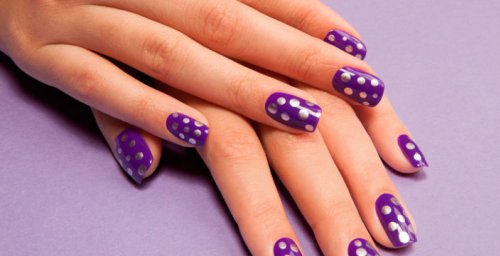
Fatal red can serve as the basis for a romantic or concise look. With the help of a special tool - dots - not only cute polka dots, but also more complex shapes - hearts, "animal paws" are easily applied. Dip the tip of the dots in a contrasting color polish and lightly apply the pattern on the second layer of gel polish. After that, fix the resulting beauty with a top.
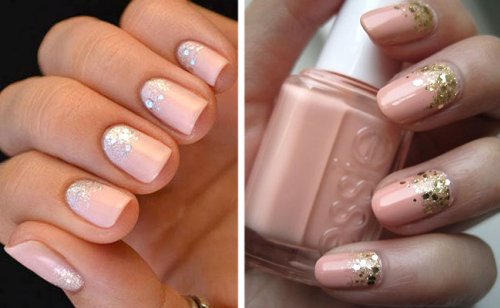
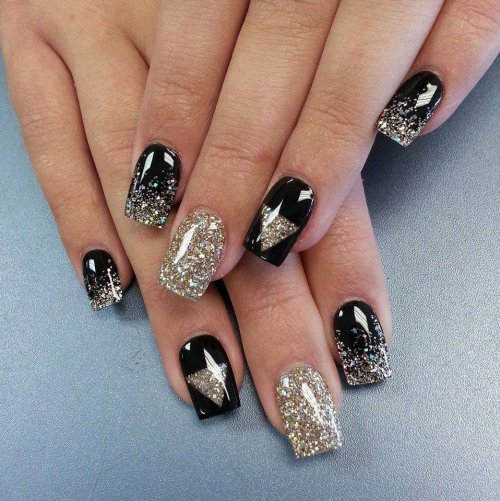
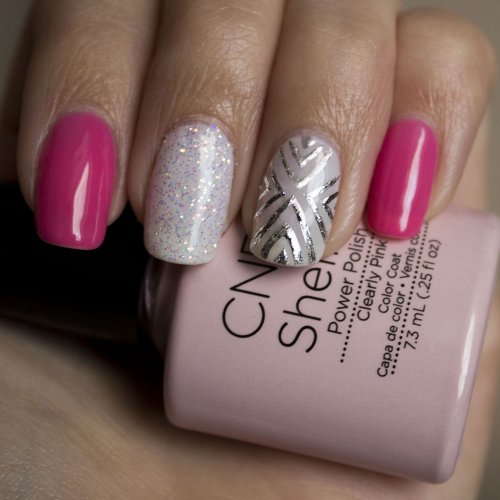
Glitter manicure
Shellac goes well with a variety of types of sparkles - from the smallest, allowing you to get the effect of gentle shimmer, to large glitters of various shapes, giving a wonderful volumetric or holographic effect. And if you combine them with a delicate beige varnish, you will get a trendy nude manicure with sunny sparkles.
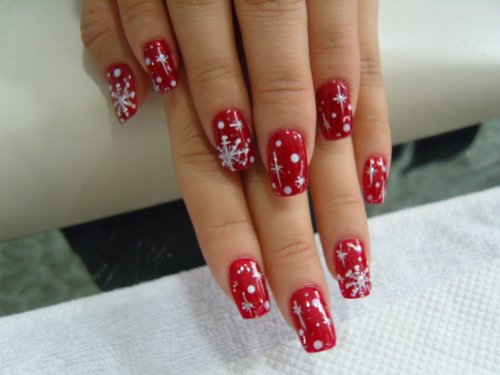
New Year's manicure
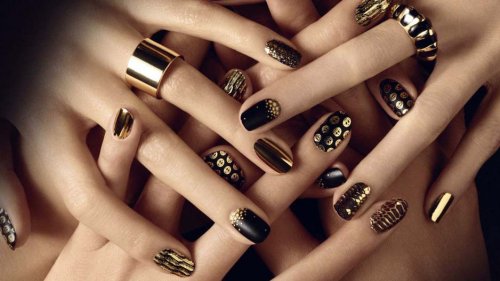
On New Year make a spectacular manicure with white and red snowflakes and peas painted with dots, and it will become an unexpected alternative to the usual fir branches and deer. To draw such a pattern, you do not need to have special skills, it is enough to purchase suitable stickers and create a small masterpiece for New Year's Eve in 10 minutes. Well, lovers of complex forms can be advised filigree brown-gold manicure.
Photos of new products in the world of nail design using shellac
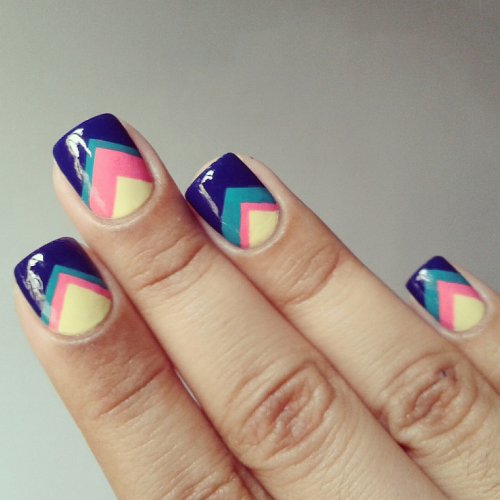
The spring-summer 2015 season brings to the attention of fashionistas a lot of bright new products. For example, who said that a checkered pattern is appropriate only in autumn? Combined with bright, pastel colors, it can be a hit. summer manicure. Besides, incredibly popular blue and white french manicure with a narrow edge. And so that your hands do not suffer after summer experiments, ask in advance what is the best way to strengthen nails after shellac.

Shellac nail design step by step. Video lessons
Stylish shellac nail design is available to inexperienced beginners and experienced craftswomen. In our video tutorials you will find a lot of interesting ideas with step-by-step execution and the secrets of applying shellac. You will also learn how to quickly remove gel polish from nails and how to strengthen nails affected after constant experimentation with gel polishes.
A review of useful articles that can reveal for every woman what shellac is and how to use it correctly!
This video describes in great detail the entire process of creating a manicure using shellac. In order to provide the same quality care as in the video, you need to take care of the availability of all the necessary tools and materials in advance. So what will you need to buy?
Base coat agent
Buying a base coat will not cause absolutely no difficulties, since in modern stores there are no problems with the choice. In most cases, the vials are very dark, and neither the color nor the consistency of the contents can be seen through them. This is done so that the base coat does not dry out in the sun.
When choosing a base coat, special attention should be paid to the information supplied by the manufacturer. As a rule, the description always indicates the color and name, and in some cases also the consistency.
It is not recommended to buy products that are too liquid, as they will spread rather quickly over the surface of the nails, as a result of which it is very difficult to create a high-quality manicure. The video in question uses a base from the Blue Sky company, whose products are very popular with both professional craftsmen and beginners.
Shellac
In order to perform a beautiful manicure, you need to purchase high-quality shellac. It is recommended to have in your arsenal at once several bottles with contents of different colors. This video uses red shellac from the same Blue Sky company, which inspires great confidence not only among the author of the video, but also among many women around the world.
The advantage of the shellac used in the video is that it does not have a completely liquid consistency, so that only one stroke of the brush will be enough to apply the coating.
UV lamp
The recommended power of the ultraviolet lamp used when performing shellac manicure is 36 watts. The lamp used in the video is very convenient to use, as it has a special button that allows you to set a timer for two minutes. By the way, two minutes is the period of time during which shellac hardens on the nails.
Top coat
To perform the top coat, you can use a special cosmetic product produced by the already familiar Blue Sky company. The top layer will have an incredible shine and glossy shine.
Degreaser
After completing the process of performing a classic manicure, moisture remains on the nails, which should be removed. The author of the video recommends using for these purposes such a tool as a Sagitta degreaser.
Nail polish remover
In this video tutorial, nail polish remover uses Santera, which removes the coating in a gentle manner and does not harm the health of the nails.
Orange stick, cotton pads and foil
An orange stick is used when performing a cuticle shift. When removing the shellac coating, cotton pads and foil are used. It is worth noting that quite ordinary food foil, which is available in the kitchen of every housewife, will also fit quite well.
Above, all the tools and materials used in this video when performing a classic manicure were considered. It is pointless to engage in detailed painting of technology, since the image on the screen will be better than any words.
Shellac nail care is a miracle of manicure art, which is demonstrated in this video. A manicure performed on video will last up to three weeks, so it is recommended that women who lead a fairly active lifestyle take it into service.
The shellac used by the author of the video does not cause any harm to the nails, but on the contrary, it provides their reliable protection and strengthening. To be fair, it should be noted that shellacs may not be suitable for some representatives of the beautiful half of humanity, but this is only an exception, not the rule. Intolerance can occur on an individual basis due to the incompatibility of nails with certain chemical components.
A professional master who performs a manicure using shellac on video will only need 30 minutes to complete all the steps. A similar procedure performed at home requires approximately 40-60 minutes of free time.
Many viewers may have noticed that professional manicure tools and materials are used in the video, which have a rather high cost. However, it is recommended to purchase a similar kit for yourself, since over time all costs will pay off, because there will be no need for regular visits to the salon.


